I recently added an HP6236B to my small but ever-growing vintage test equipment collection. It was in amazing condition when shipped but got smashed quite a bit on its way to me. The initial test wasn't promising:
The insides looked really clean, and nothing seem out of place so I started going through the manual's debug steps. According to the manual a voltage reference should have been broken. So I started there. After replacing the reference the power supply behaved exactly the same. It behaved exactly the same even without the voltage reference in place so it had to be something else. I then proceeded to go through all the test points the manual had marked. All 15 of them seemed normal.
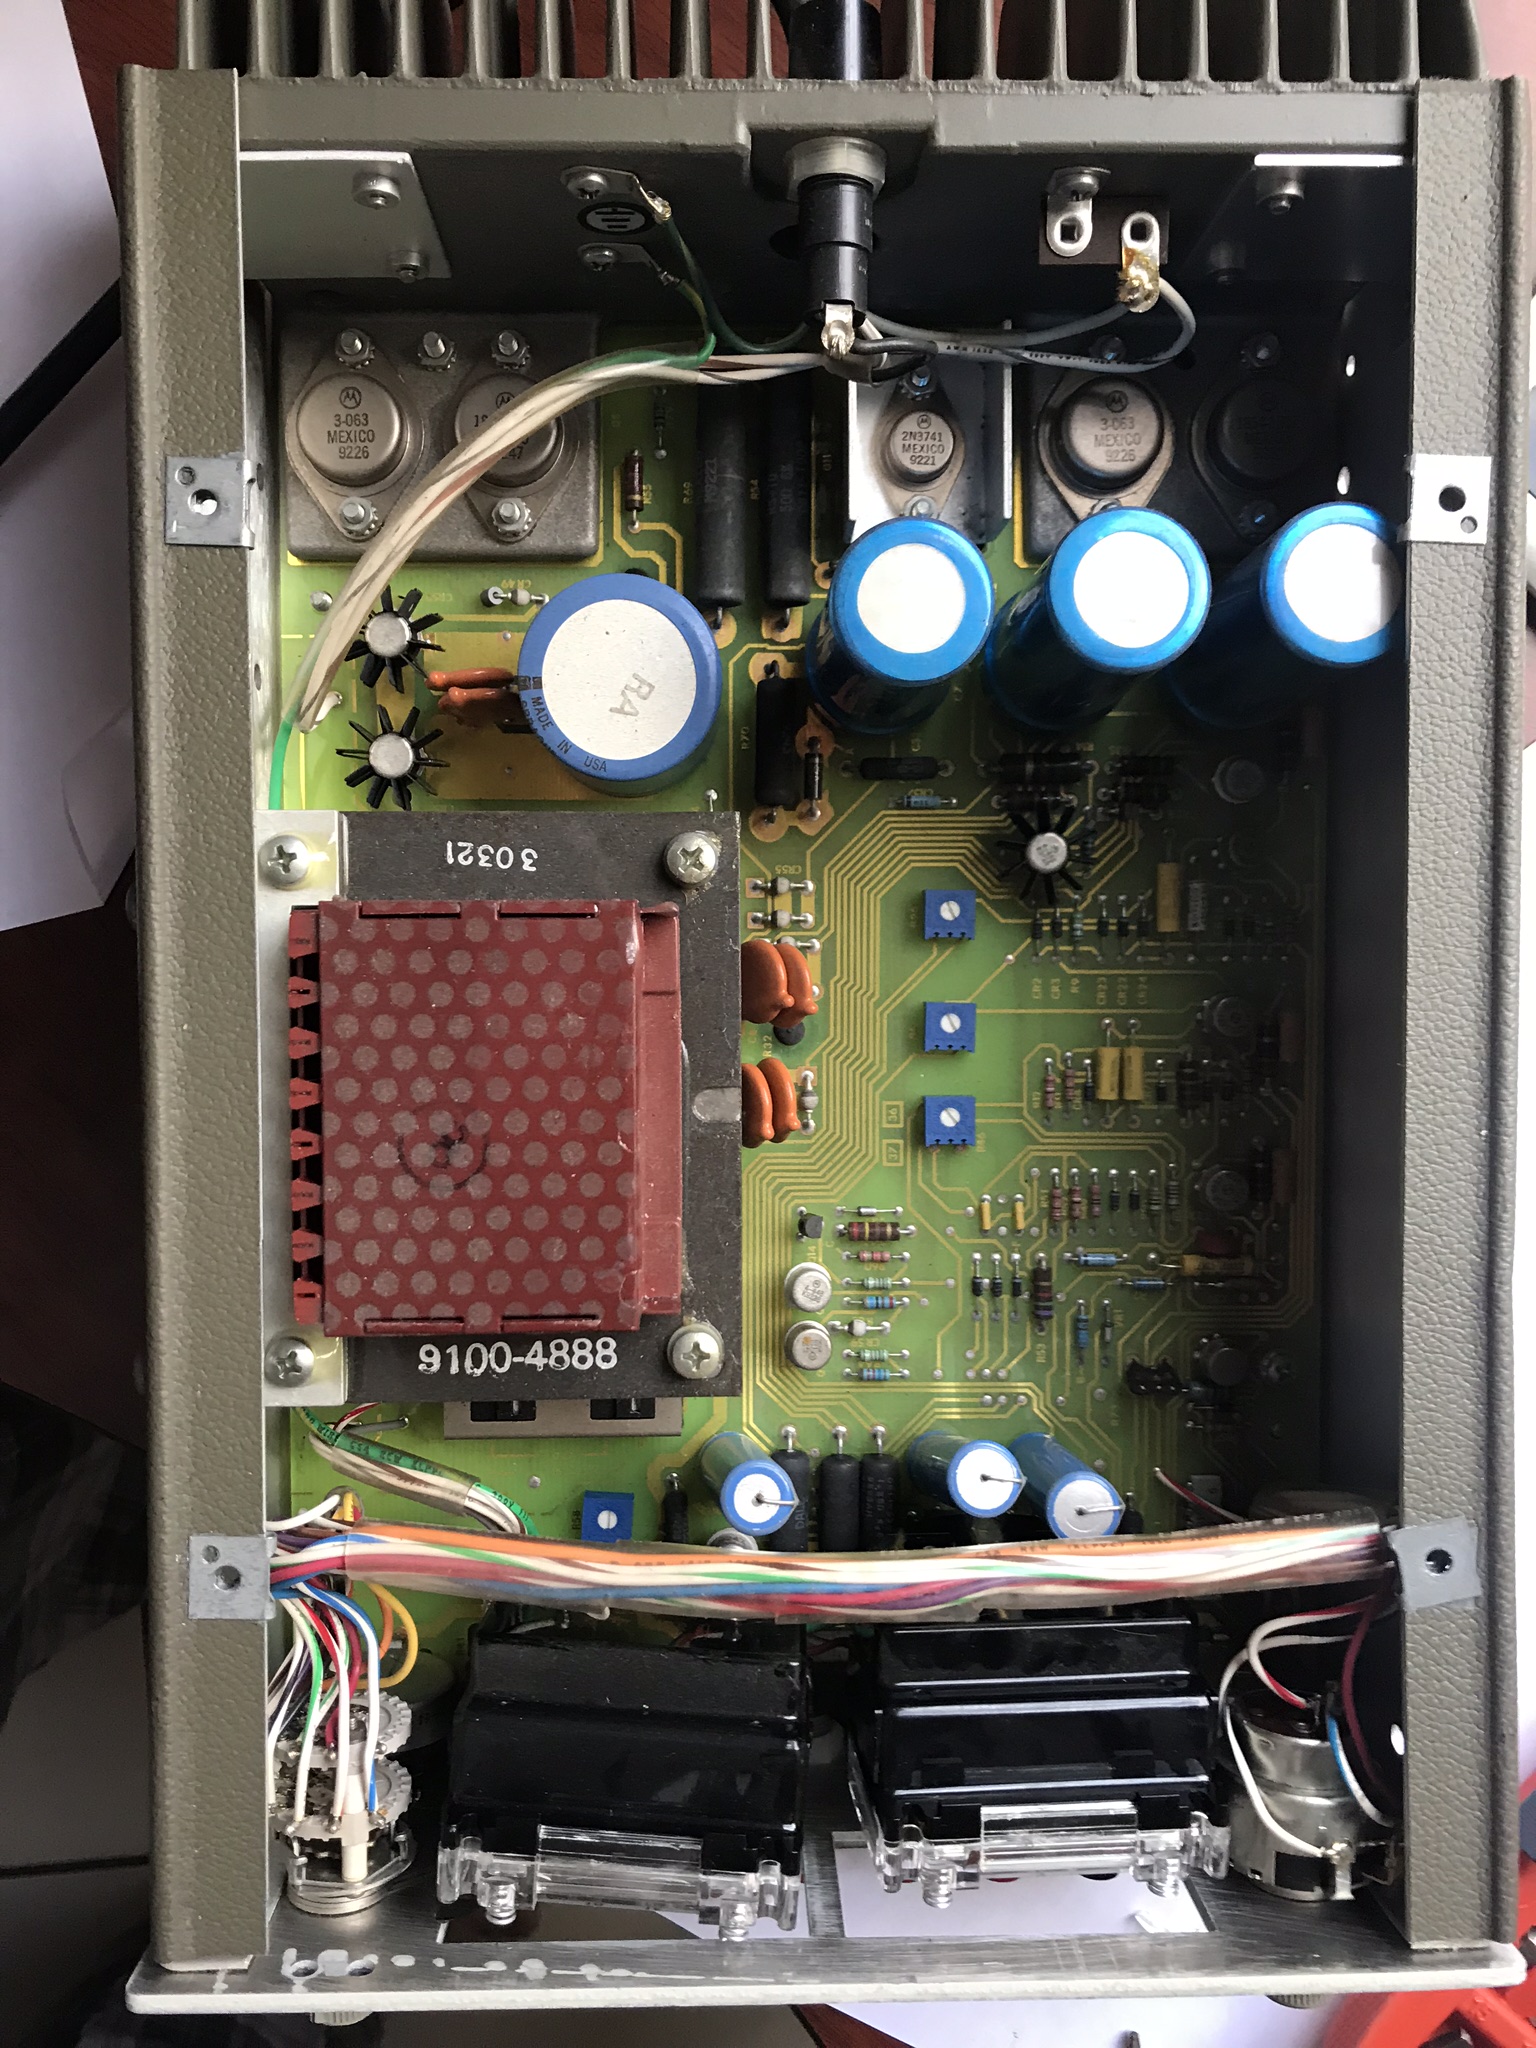
This took a long time and didn't really lead anywhere. I gave up and put the power supply away for a couple of days. The next time I got around to tinkering around with it I decided it was time to see what Jake, my oscilloscope thought about it.
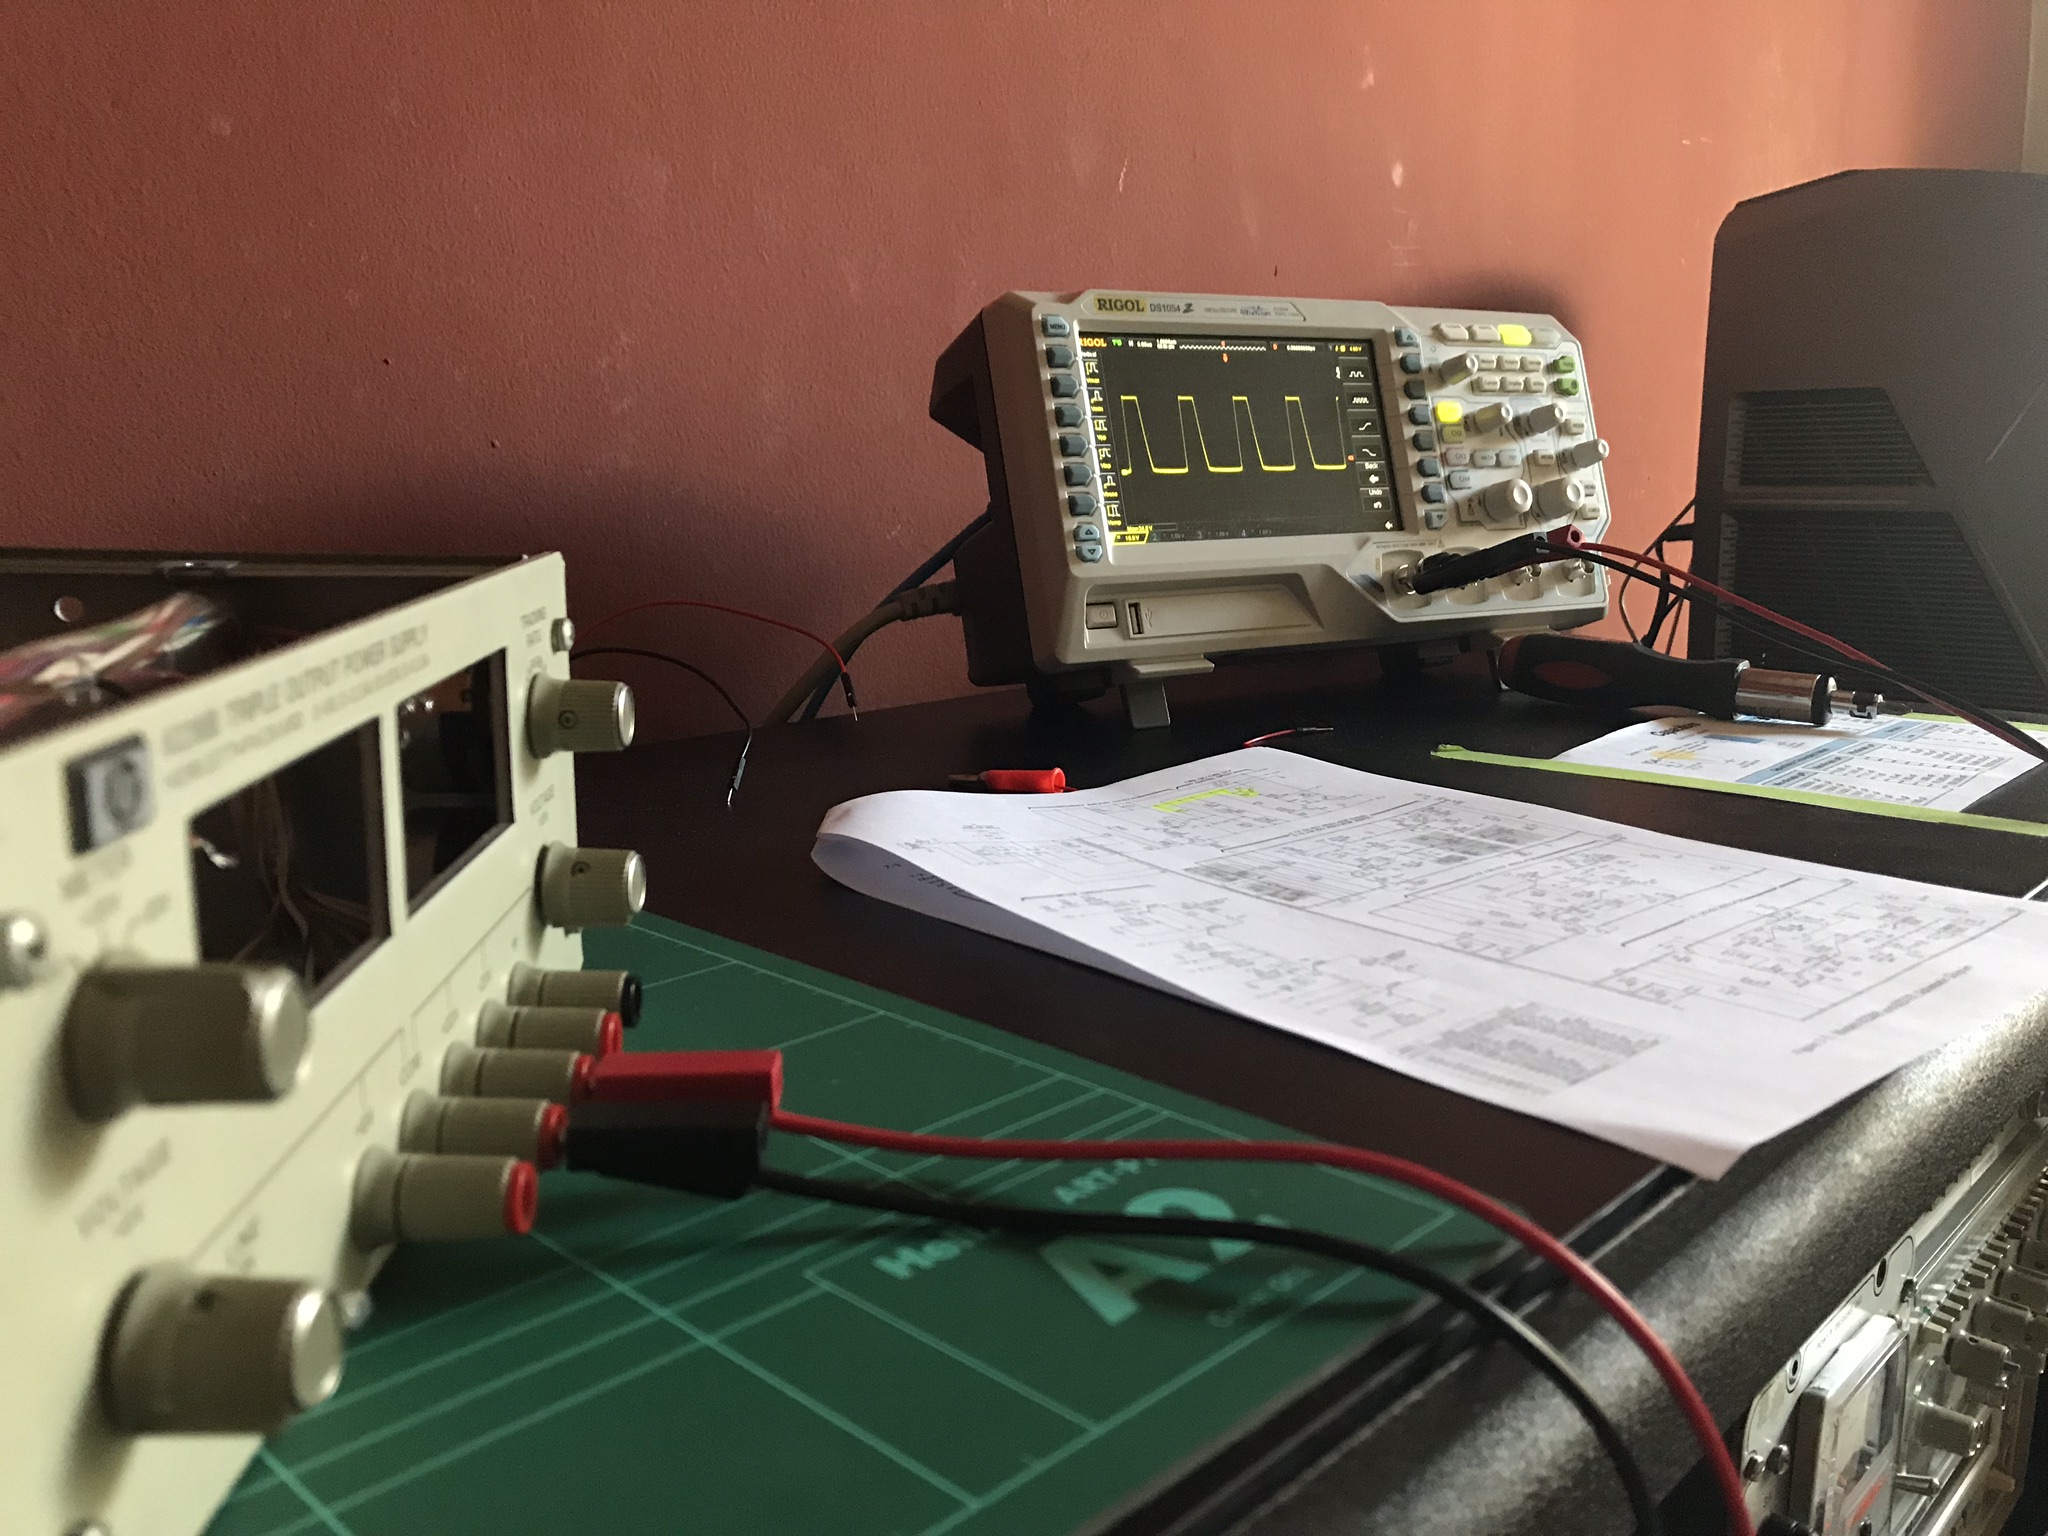
Something was immediately obvious now, the power supply was oscillating quite a bit. Oddly enough, the -20v rail was actually working as intended but with it's range limited to what the 20v rail was stuck to. This was my first major clue. A quick check on the schematic showed that the likely culprit were the filtering capacitors near the output (C1 and C11).
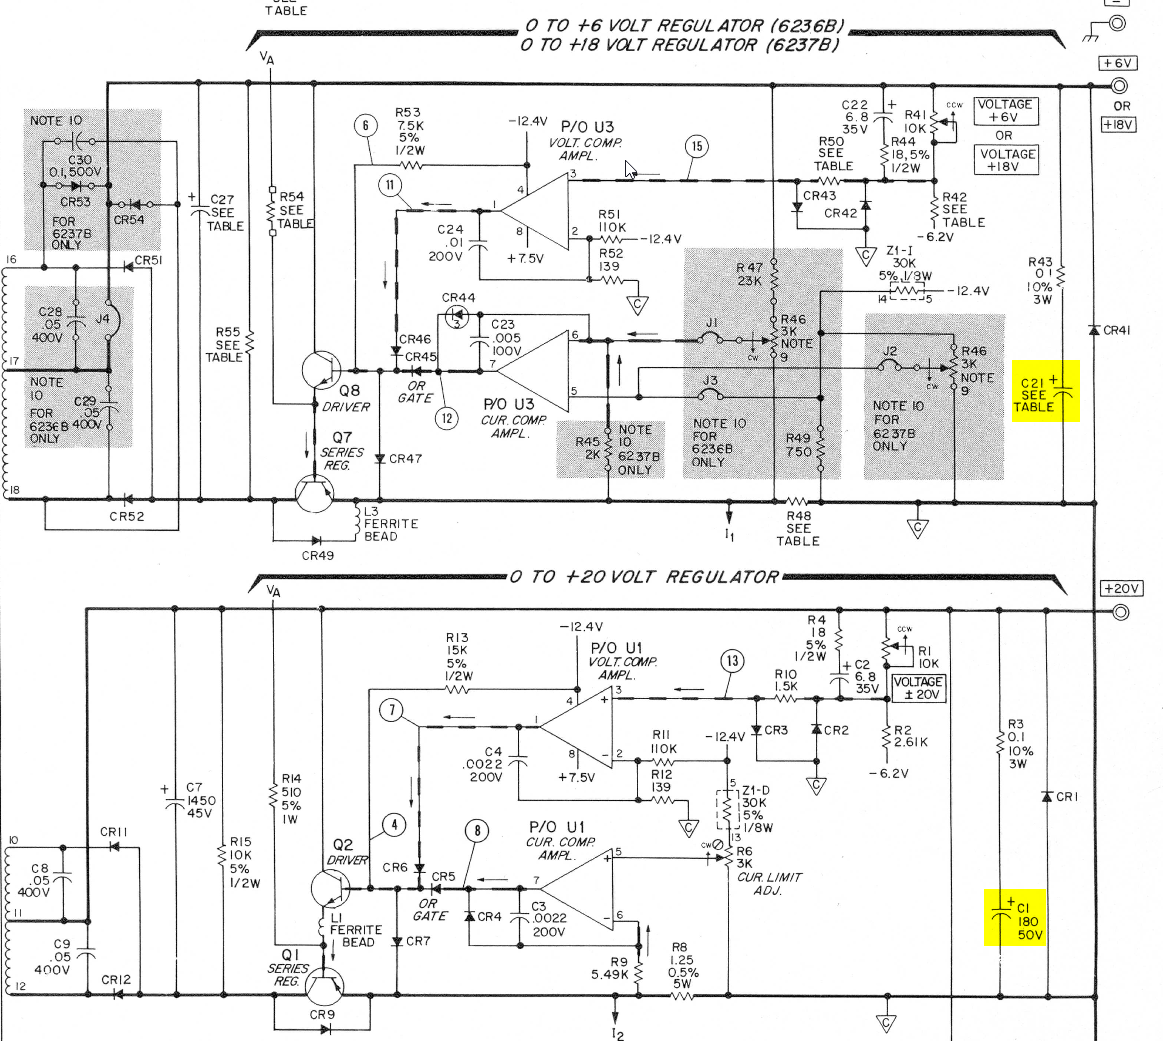
I went ahead and removed them, replacing C1 with the closest capacitor I could find, a 220µF one. It was close enough. The power supply came to life and started working almost as intended.
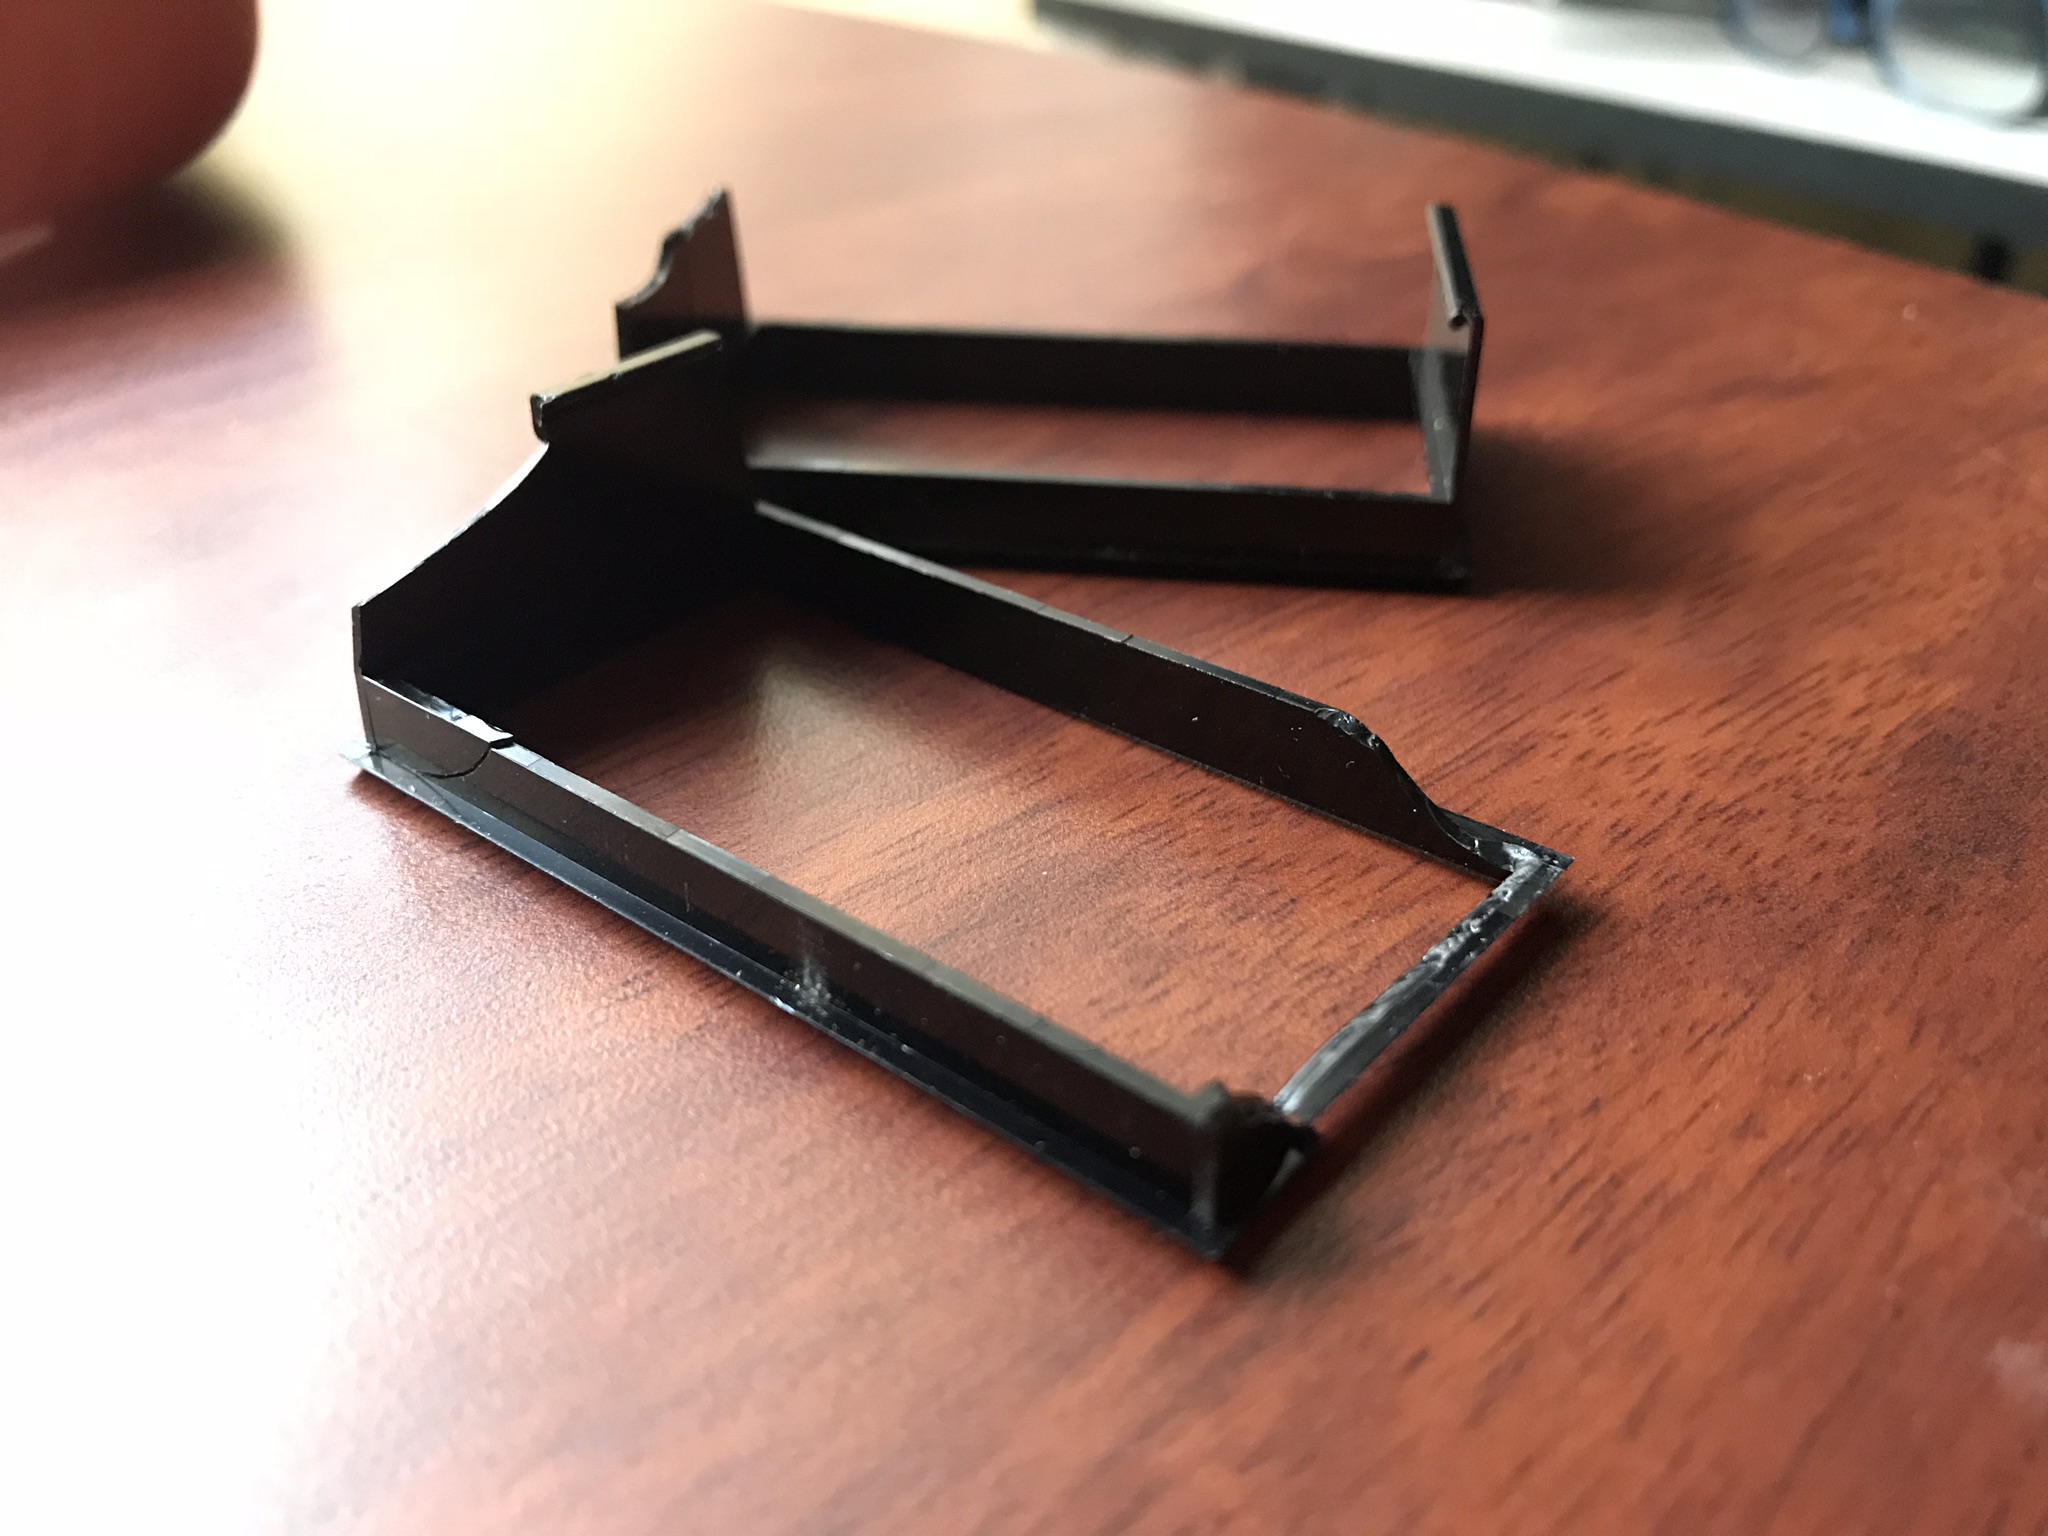
The next day I made a quick visit to a local electronic store and got the capacitors that needed replacement. A quick soldering job later and power supply was back to working as intended. I started fixing some of the broken pieces, like the meter holders. Those were not salvageable so I designed and 3d printed new ones.
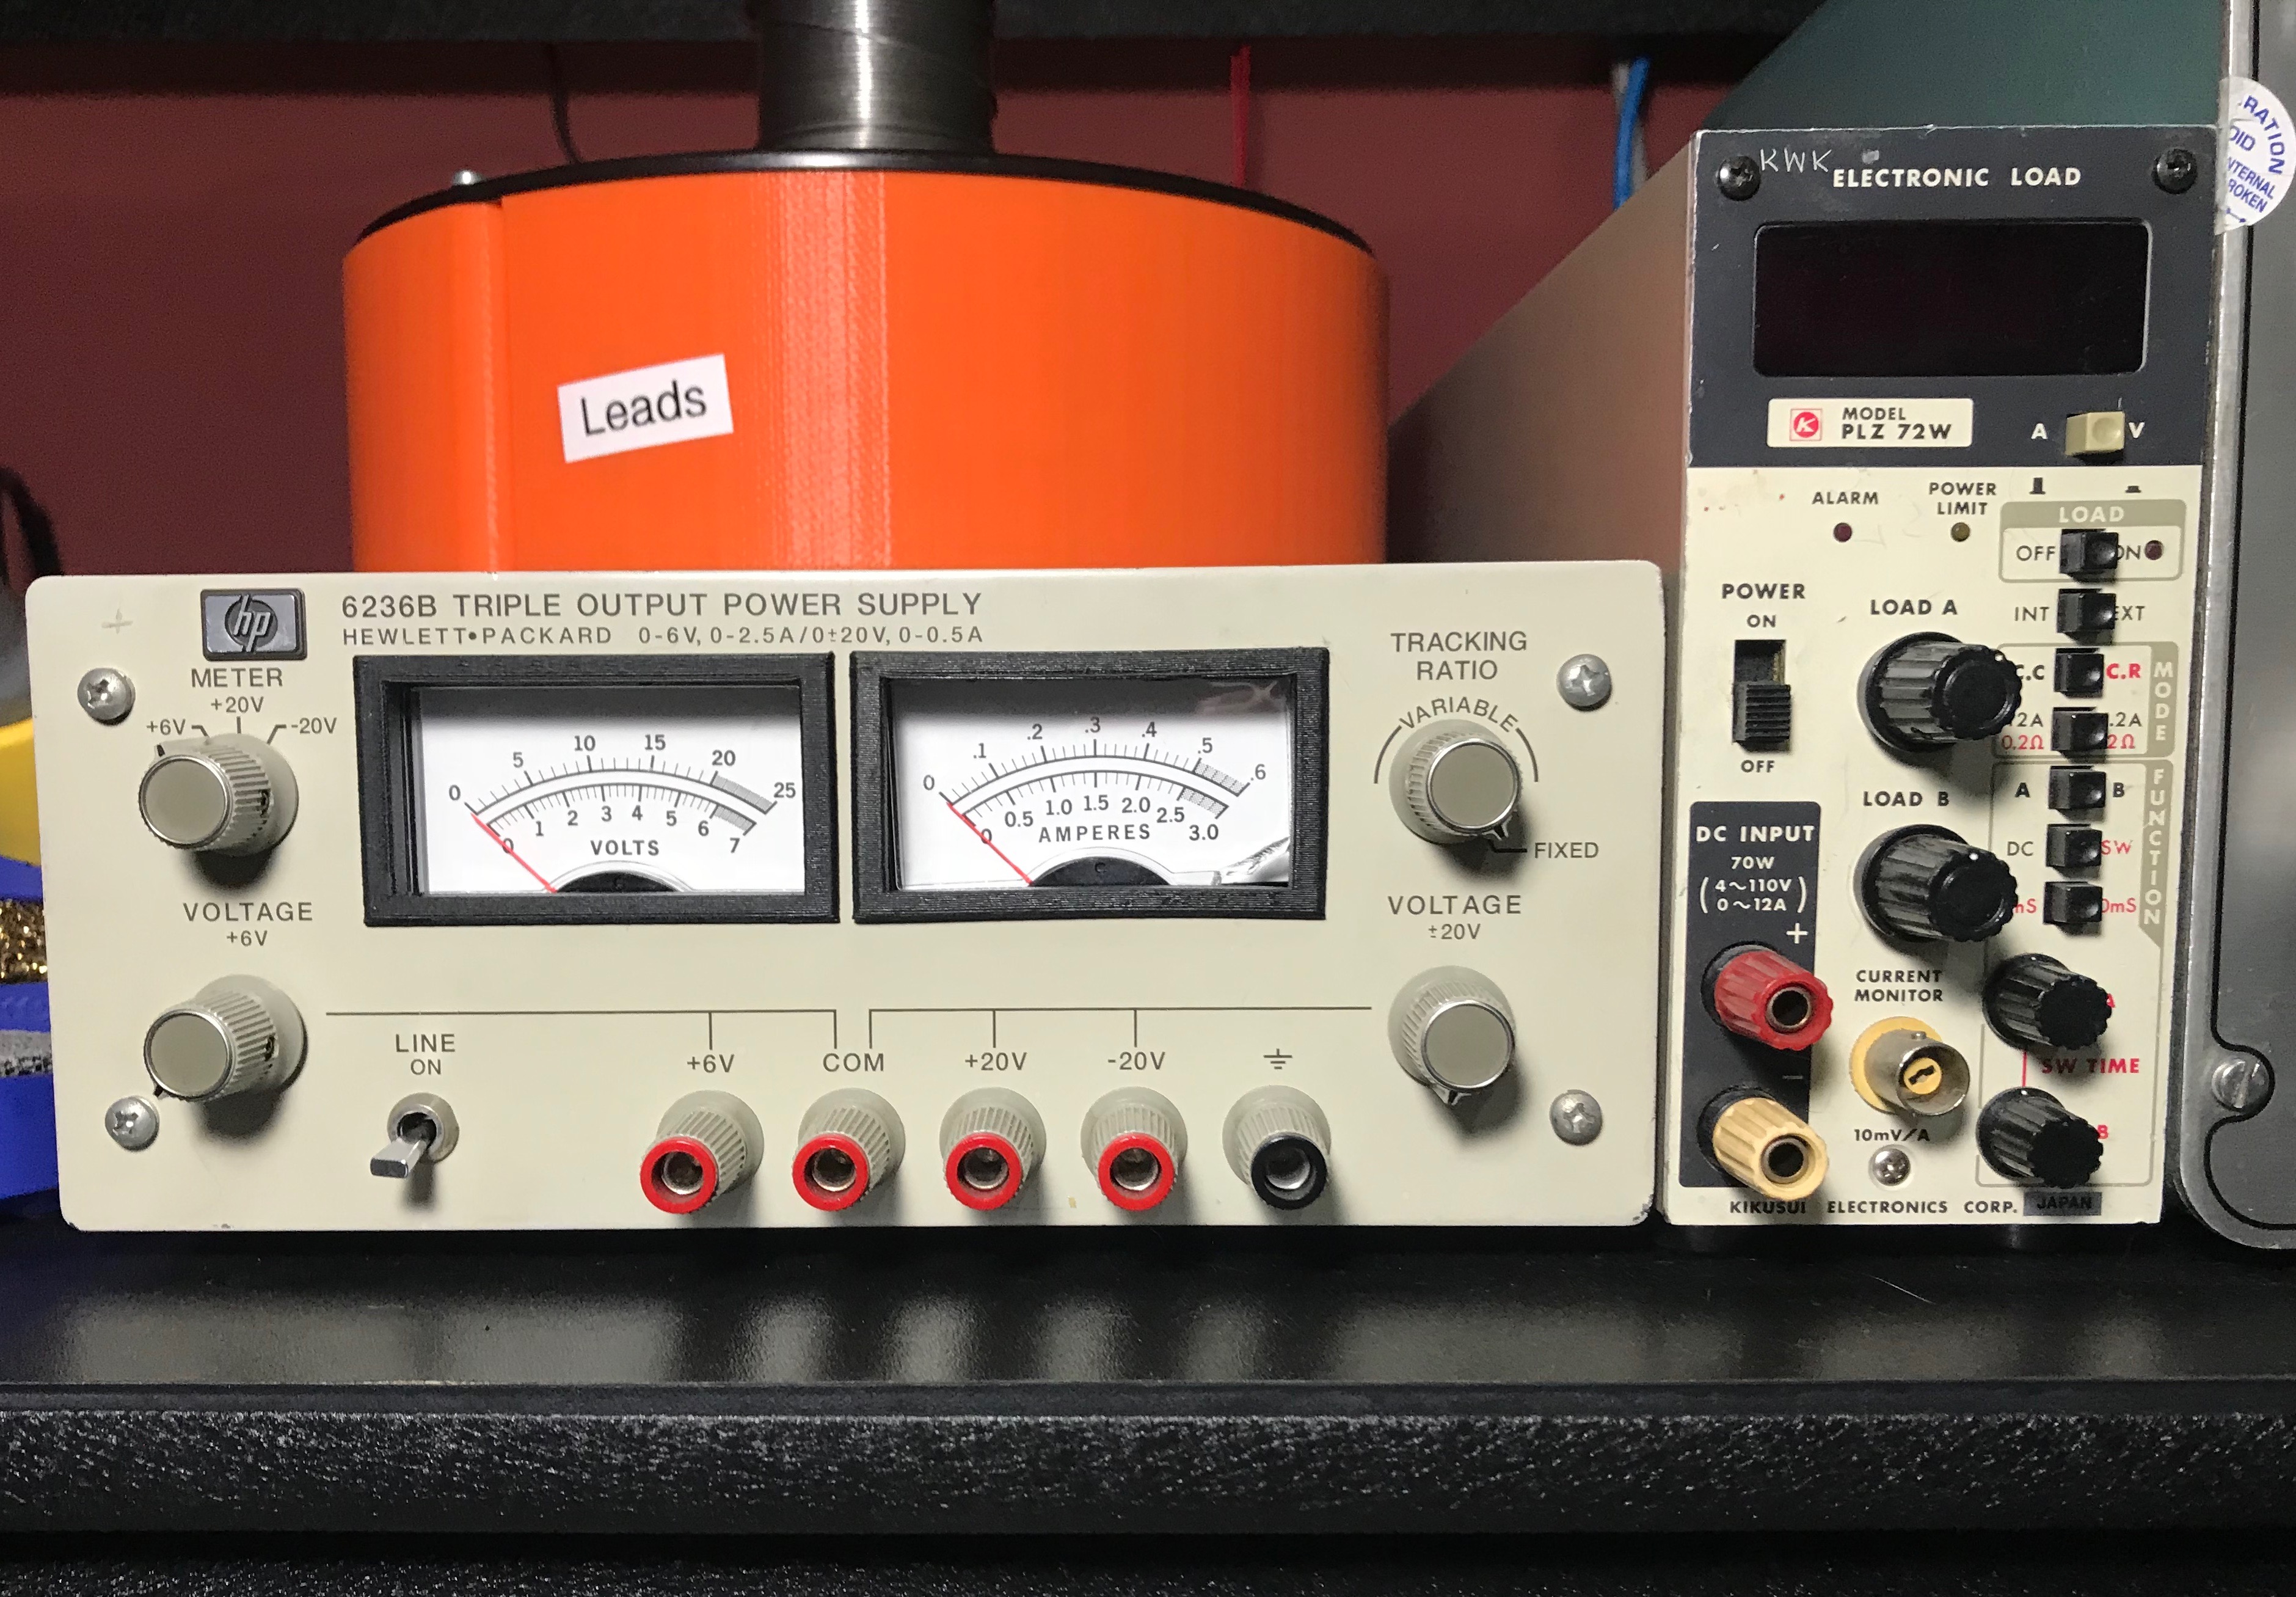
Once all the pieces were in, I resoldered the meters, placed everything back together and closed it up. I did some load testing and calibration using my Kikusui PLZ72w and it was good to go.
It found a nice place right next to my DC load.
Have a comment? Feel free to
email me.
Did you enjoy this post?
Buy me a coffee ☕️.