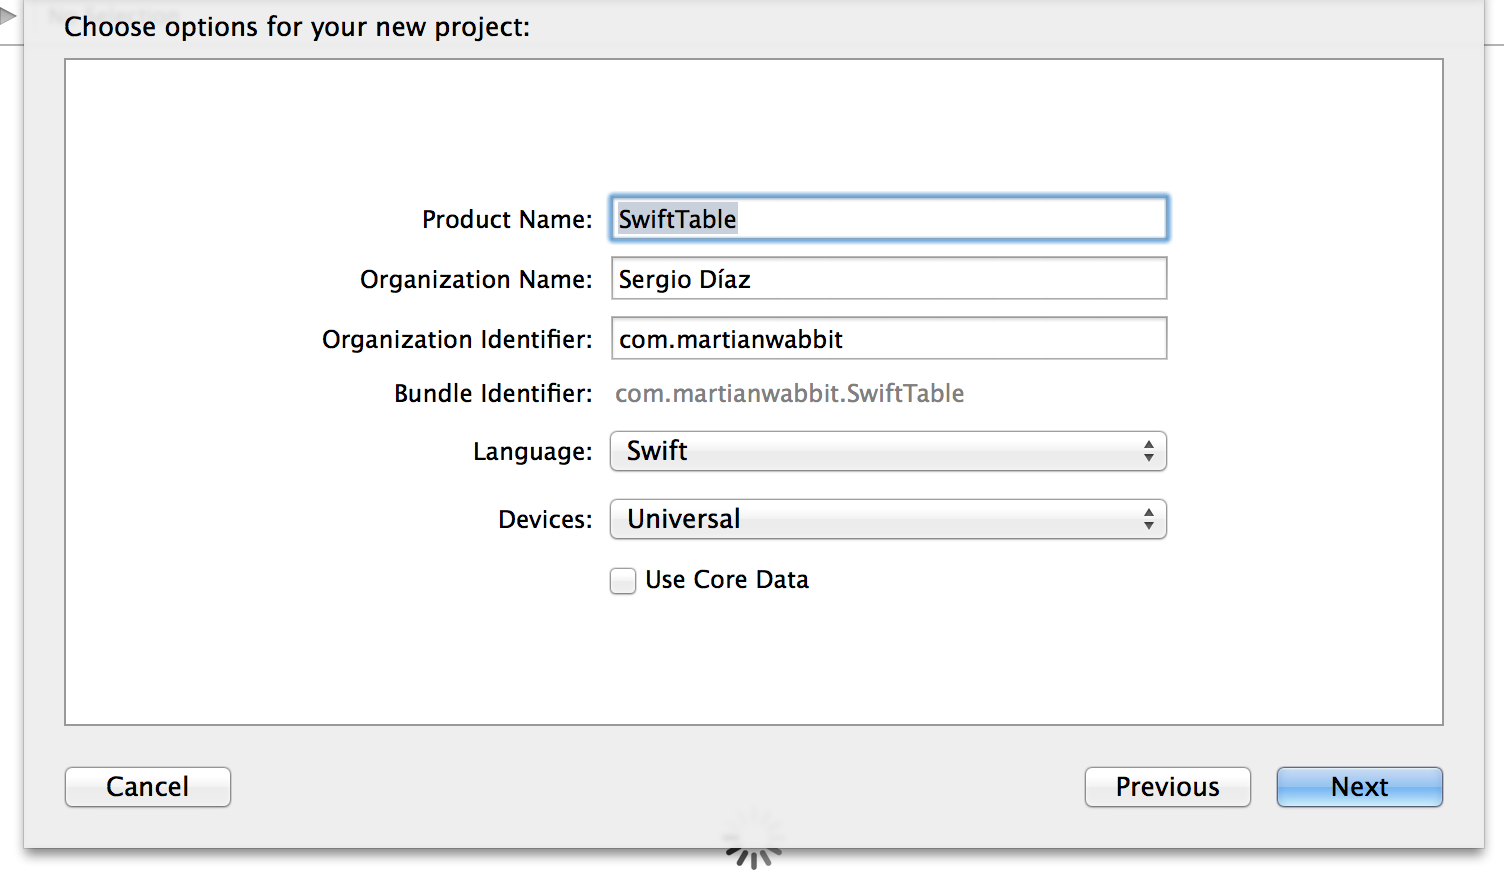
Using a TableViewController with swift is easy. It takes only a couple of steps to create a table with custom cells. I started by creating a single view application.

Setting up the table and cell prototype
I started by deleting the default view. Then, I added a Table View Controller to the storyboard. Finally, I added two labels to the prototype cell. You can use the prototype cell to define how the cells for the table will look, so go ahead and tweak it to your convenience. Afterwards, I set the cell's identifier to 'cell'. I am creating a Twitter client so I only need to display the user and the Tweet.
(There's a preset style that's only a title and a subtitle which I could have used but, I want more control over it's appearance so I went this way)
Once I had my cell and table ready I just needed to do a couple more things. First, I created a class called TweetCell that inherits from UITableViewCell. I'll be using this class as a base for my custom cell. I set my class as the custom class and I added two outlets to refer to both of the labels. I named the big one "username" and the smaller one "body".
// TweetCell.swift
import UIKit

class TweetCell: UITableViewCell {
    @IBOutlet weak var username: UILabel!
    @IBOutlet weak var body: UILabel!
}
The ViewController
Now I only have to set up the view controller. We already have the basic view controller that came with the project so now we can just change it to do our bidding.
I start by creating a struct to contain my tweets. I added it before the ViewController's class definition.
struct Tweet {
    var username: String
    var body: String
}
After that, I changed the ViewController's parent class from UIViewController to UITableViewController and added the UITableViewDataSource protocol to it so my class looks like this:
class ViewController: UITableViewController, UITableViewDataSource {

}
Now I added an array with a couple of tweets:
var tweets: [Tweet] = [
    Tweet(username: "Seich", body: "Hello, World"),
    Tweet(username: "Albert", body: "How are you doing?")
]
Finally I just need to override a couple of methods. The first one is this method: tableView(tableView: UITableView!, cellForRowAtIndexPath indexPath: NSIndexPath!) -> UITableViewCell! which determines what cell should be drawn at the given index. Here's how mine looks:
override func tableView(
    tableView: UITableView!,
    cellForRowAtIndexPath indexPath: NSIndexPath!)
    -> UITableViewCell! {

    var cell = tableView.dequeueReusableCellWithIdentifier("cell") as TweetCell

    cell.username.text = tweets[indexPath.row].username
    cell.body.text = tweets[indexPath.row].body

    return cell
}
The second method is this one: override func tableView(tableView: UITableView!, numberOfRowsInSection section: Int) -> Int which should return the number of cells to draw, mine looks like this:
override func tableView(
    tableView: UITableView!,
    numberOfRowsInSection section: Int) -> Int {

    return tweets.count
}
And that's it. Here's my final code for the view controller:
import UIKit

struct Tweet {
    var username: String
    var body: String
}

class ViewController: UITableViewController, UITableViewDataSource {
    var tweets: [Tweet] = [
        Tweet(username: "Seich", body: "Hello, World"),
        Tweet(username: "Albert", body: "How are you doing?")
    ]

    override func tableView(
        tableView: UITableView!,
        numberOfRowsInSection section: Int)
        -> Int {

        return tweets.count
    }

    override func tableView(
        tableView: UITableView!,
        cellForRowAtIndexPath indexPath: NSIndexPath!)
        -> UITableViewCell! {

        var cell = tableView.dequeueReusableCellWithIdentifier("cell")
                        as TweetCell

        cell.username.text = tweets[indexPath.row].username
        cell.body.text = tweets[indexPath.row].body

        return cell
    }
}
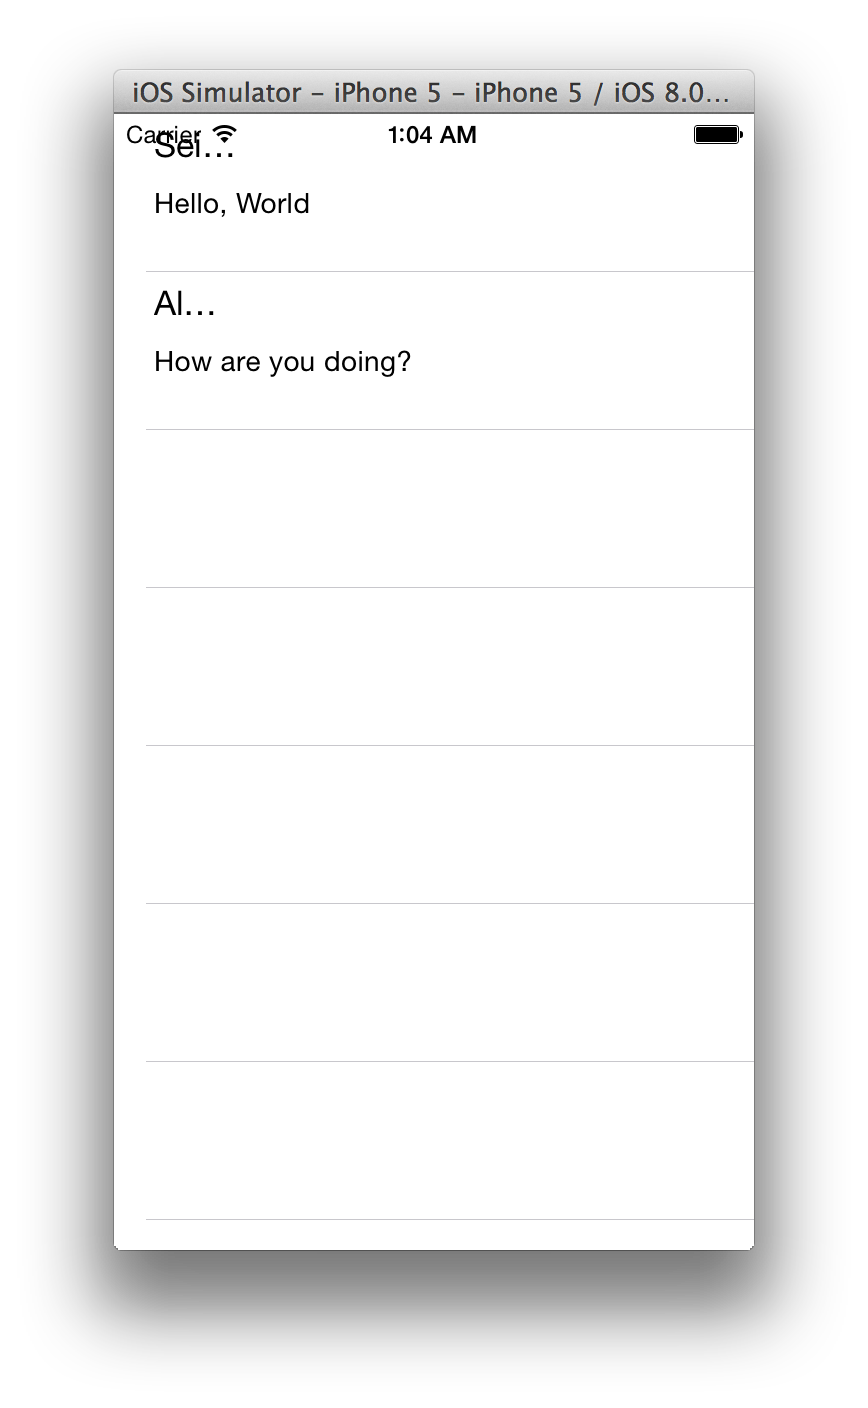
And this is what my finalised app looks like:

It's not perfect but, it shouldn't take much to have it looking decent. I'll probably be revisiting this soon and finishing the whole Twitter application so stay tuned for more.
Resources
Creating and Configuring a Table View
Have a comment? Feel free to
email me.
Did you enjoy this post?
Buy me a coffee ☕️.