I've been using an old Rockband Keytar as a midi controller for the longest time. I usually take advantage of the OP-Z's ability to be a MIDI host to use the keytar via a midi to usb adapter. This is fairly cumbersome as I have to use big cables and a USB-A to USB-C adapter.
Last year I got myself a ZM-1 module for the OP-Z which allows me to connect MIDI devices via a 3.5mm jack. These are fairly easy to put together and I had all the spare parts I needed hanging around already so I decided to make a couple.
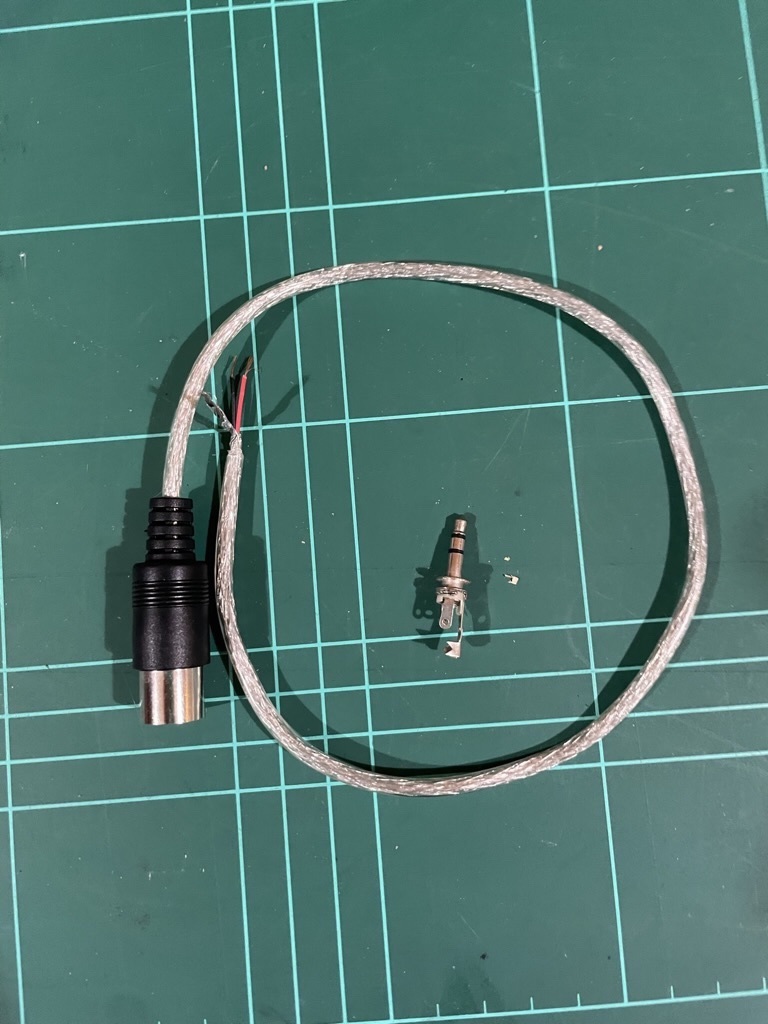
All you need is a MIDI jack, and 3.5mm jack and some cable. I used a midi jack that already had it's cable attached. I took this from a previous midi project so that cut the soldering in half.
I couldn't find documentation stating weather this cable is meant to be type a or b or something else. So I tried wiring it as a type-A (a being the "standard" from what I know). This didn't work, it turns out is actually type-B. Here's the diagram:

Some soldering later and the cable is mostly ready:
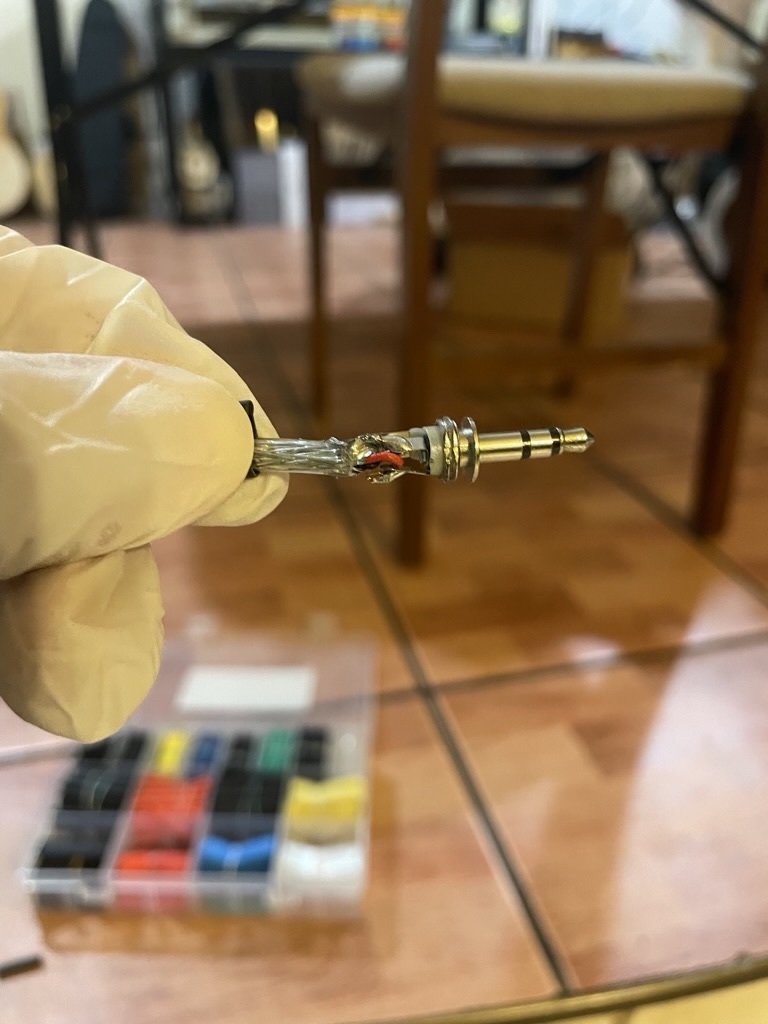
I used some heatshrink as strain-relief. I was also lacking the piece of plastic that screws to the 3.5mm jack so I wrapped it in some extra heatshrink to give it some strength. Here's the final cable:

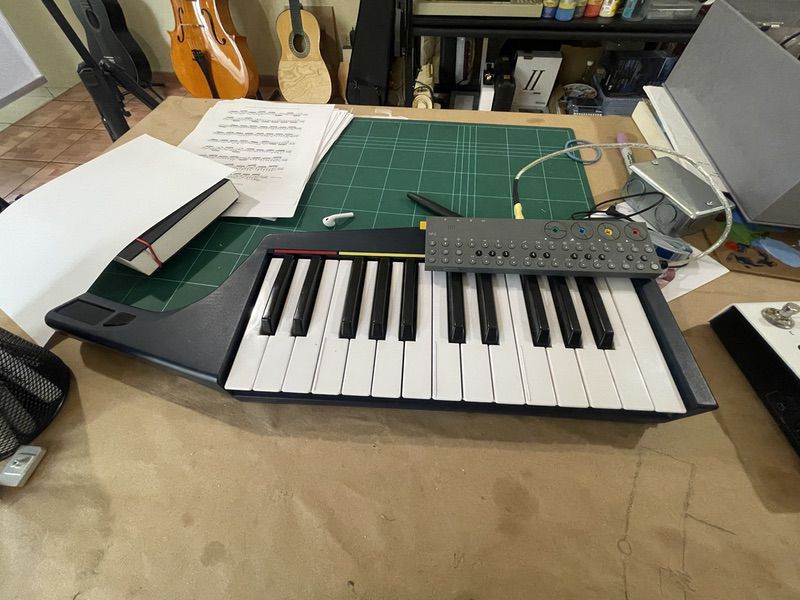
Here's what my keytar setup looks like now:
It works flawlessly and makes for a fun little weekend project.
Have a comment? Feel free to
email me.
Did you enjoy this post?
Buy me a coffee ☕️.